
Sourdough Starter How-To
Meet Fredrik, my sourdough starter. He is a very hard-working, A-type personality who gives as good as he gets. You are probably wondering why I have named my sourdough starter? Well, if you start on this journey, you will find out. You grow quite fond of your starter, as you have to nurture it for a whole week. It's really not that hard, but it is quite exciting to see it grow and develop. (Have I mentioned I have a science degree? Ha!) Regardless of whether you name yours or not, this starter is going to be the gift that keeps on giving. SO many amazing recipes use this, and you will never run out of dry active yeast again (thanks COVID-19), as you will never NEED it again. No, honestly. All you need is 2 ingredients to get started. So why not give it a go?!
Equipment
- Clear Glass Bowl for First 7 days
- Clear Glass Sealable Jar - After 7 days
Ingredients
- 1 cup (to start) All Purpose Flour of Choice (3 cups total) Try to use the same flour until your starter is happy and active (about 7 days)
- ¾ cup (to start) Water (2¼ cups total) Room temp and filtered give the best results
Instructions
Day 1
- FIRST, you want to make sure you clean your glass bowl and ALL your utensils you use VERY well. Any tiny piece of food left on a utensil or glass bowl, will cause mold to grow potentially. After you put so much love and care into your starter, the LAST thing you want is to have to throw it all out and start over.
- Next, you will mix your flour and water into the glass bowl. Stir it VERY well, you can even use a whisk if you wish. This mixture will be very much like a THICK pancake mix.
- Make sure you scrape the sides down as best as you can.
- Cover with a tea towel and set on a part of your counter where it won't be disturbed.You don't want to cover it too tightly as you WANT air and particles to get through. The way starters work, is that they gather yeast that is already in the air from previous baking or just natural yeast floating naturally in the atmosphere. (It is really NOT as gross as it sounds! The interesting thing is that every state will have different yeast based on the atmosphere, so all sourdoughs taste a little different. Again, I LOVE science!)
- That's it for Day 1.
Days 2-4
- You will want to "feed" your starter at the same time every day for the best results. Feeding just means you will be taking some old mixture out and replacing it with new mixture. This helps the yeast get stronger as you feed it fresh flour.
- With a CLEAN spoon, give the old mixture a quick stir. You may notice the bubbles on top are a bit crusty. That's ok, just mix it well. Then scoop out 1/2 cup of the old starter.
- Feed the starter with 1/2 cup flour, and 6 tbsp of filtered water. Stir it really well, wiping down the sides and making sure ALL the flour is mixed in.
- On day 2, your starter MAY have a few bubbles in it, and it may have loads. It all depends on the temperature of your kitchen and the yeast that is floating in the atmosphere. As the days go on, you should see more and more bubbles as the starter becomes more active and happy. See Notes.
- Cover the bowl, and set aside until the next day/feeding.
- Repeat this for Days 2-4.
Days 5-7
- Have you named your starter yet? By now your starter SHOULD have quite a few bubbles showing when you go to feed it. At this point you can choose to feed it 2 times a day, which I recommend if you are ANXIOUS to finally use it!
- Try to feed your starter in the morning and evening (about 8-10 hours apart) if you are feeding it 2 times a day. If you decide to keep with the once a day feeding, just carry on as you have on days 2-4.
Day 7 (or 8?)
- By the 7th day, your starter should rise and fall quite a bit after feedings. This means that the yeast is VERY active and ready to go! If your starter is not rising as much as you think it should, it is OK to keep it on the counter and continue for a few days. (I tend to leave mine on the counter for days at a time when I am baking a lot, it's OK because I am constantly feeding it and using it.)
- Once your starter is active and you want to store it for a few days, you can put it in an airtight container and put in the fridge. Just be sure to take it out at least once a week to feed it, especially for the first few months. Leave your starter on the counter after feeding for a couple hours before returning it to the fridge.
- And Voila! You are ready to make the most AMAZING sourdough recipes. Check out my Sourdough bagel recipe!
Notes
DAY 1
Starter should look like a very thick pancake mix.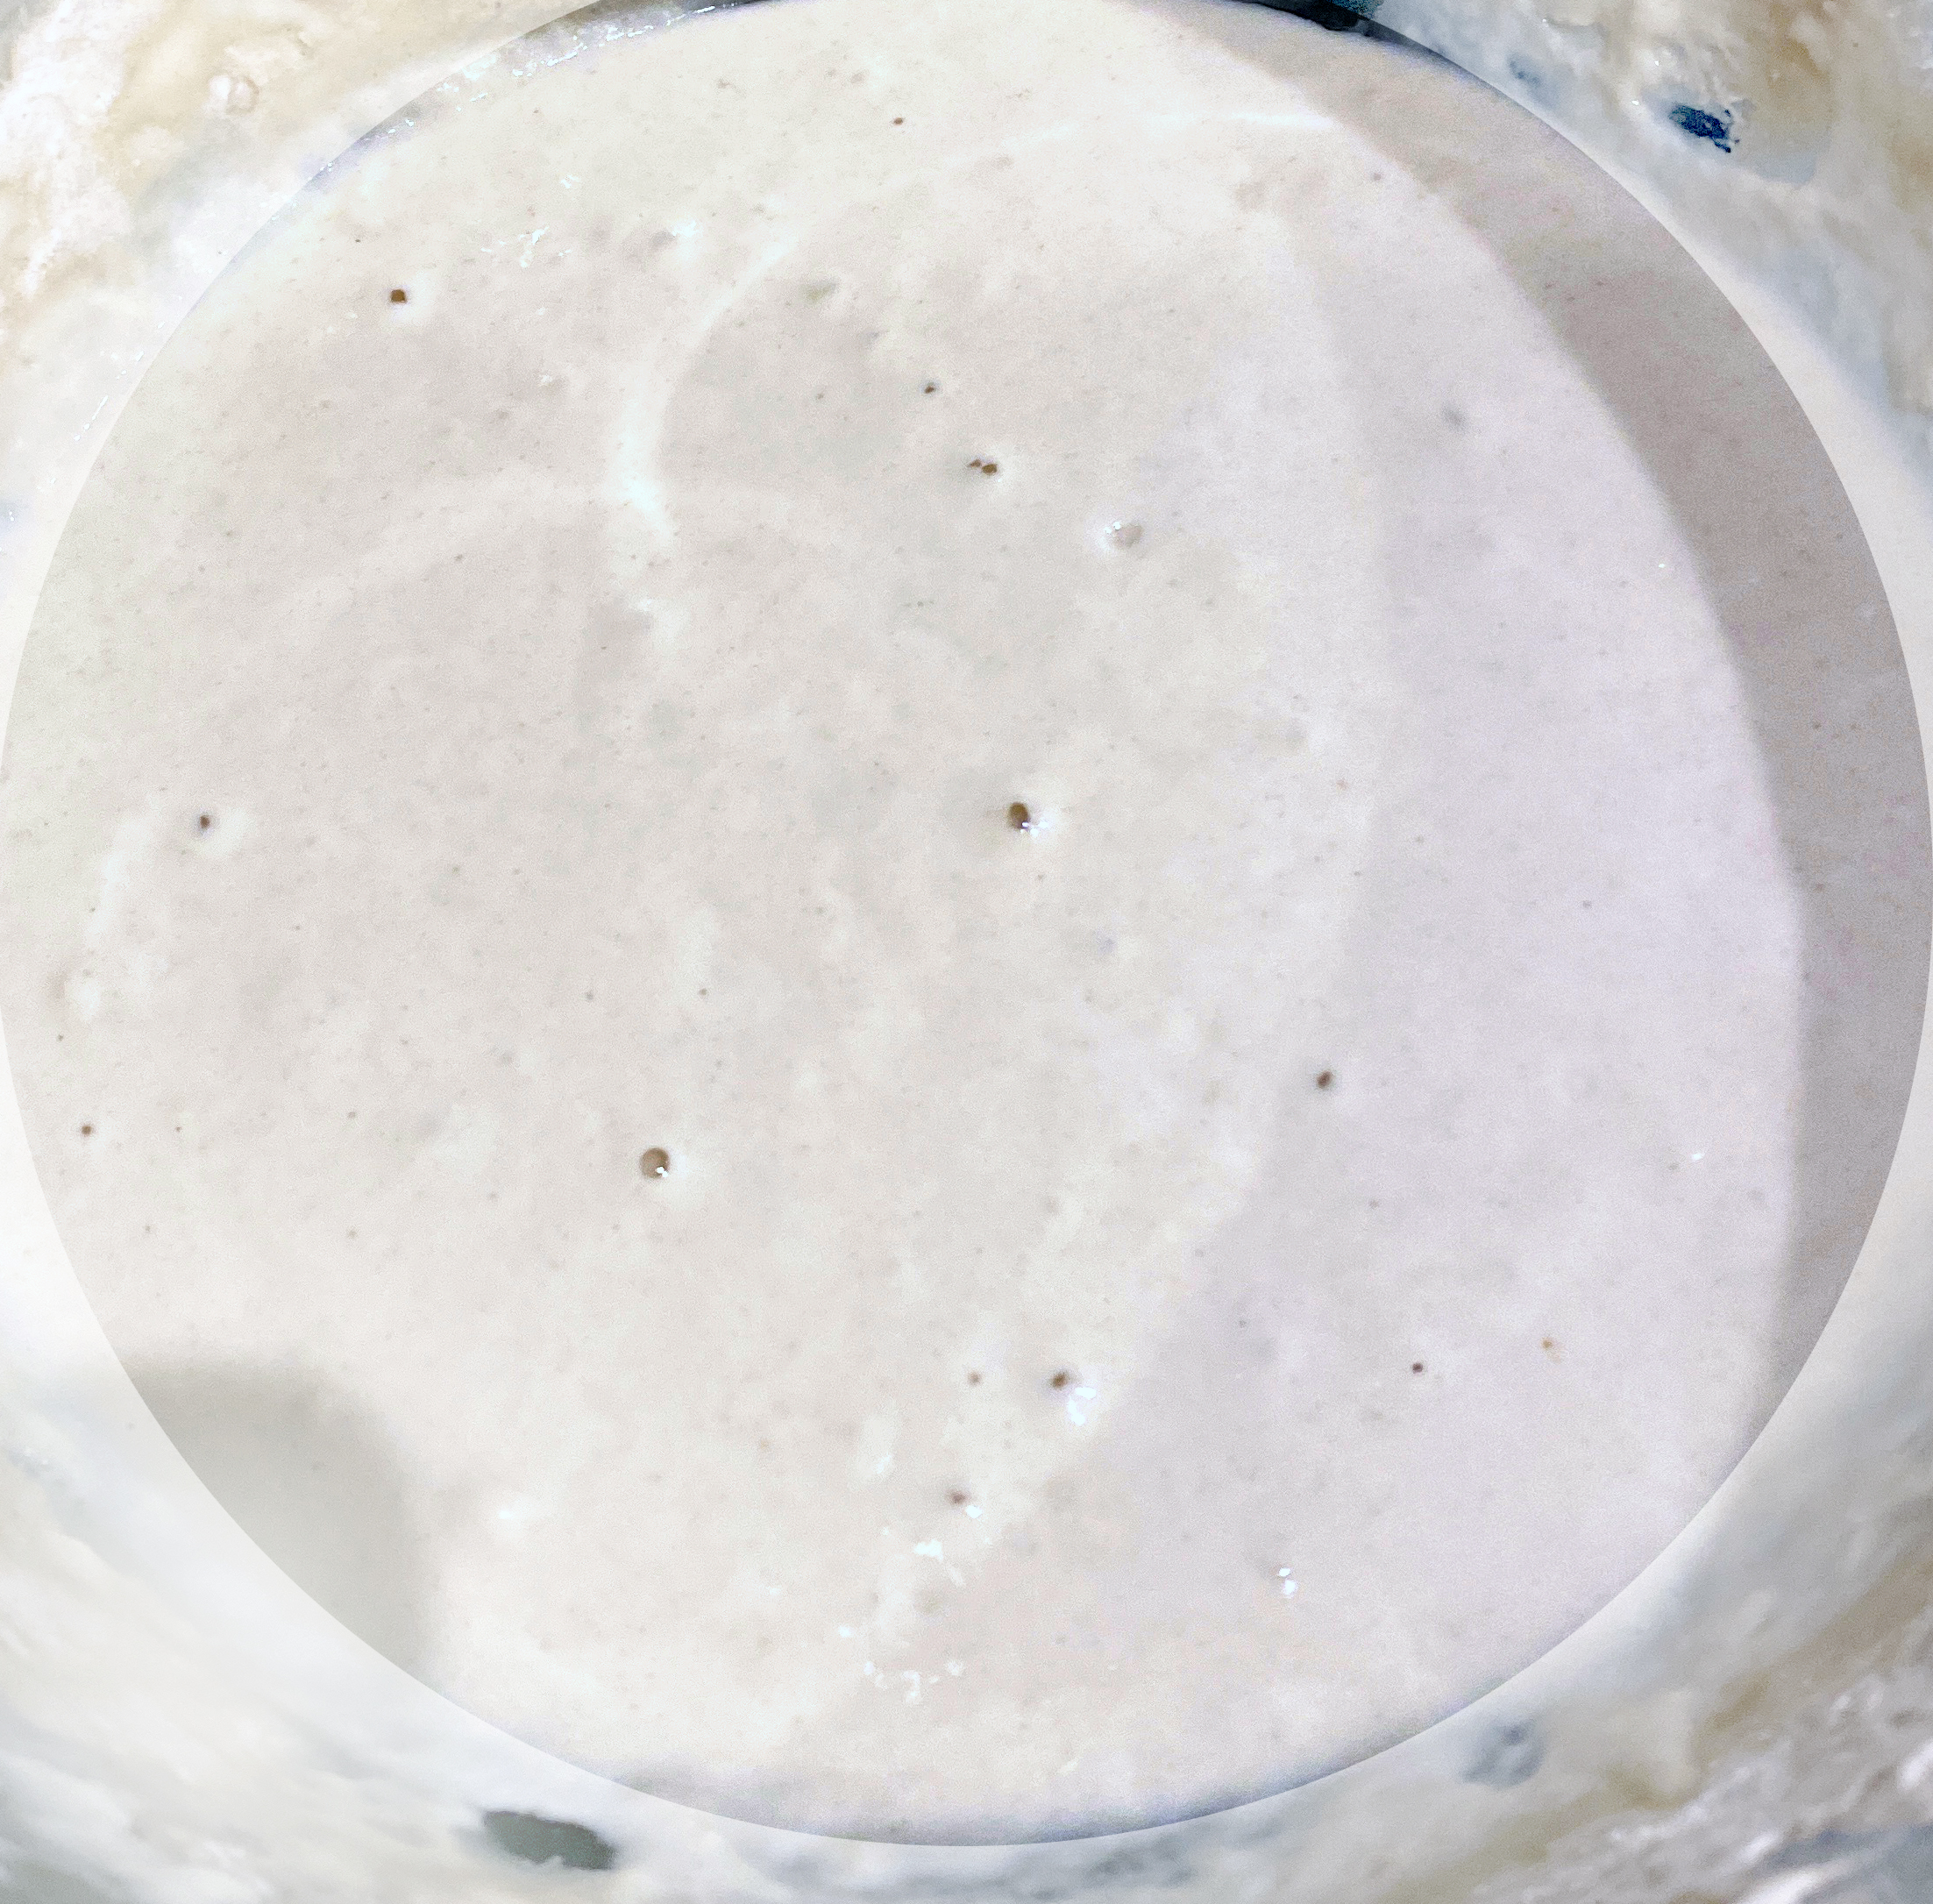
Day 2-4
Starter should start to have bubbles and may even seem a little crusty on top. Be sure to mix it very well before "feeding"
Day 5-7
Starter will be very bubbly on the surface. It should also start to rise and fall after feedings. If you put it in a glass bowl or jar, you can track how much it rises and falls each day.

Day 8 and Beyond
Your starter will come to life whenever it is on your counter. It is important to feed it once a week for the first few months, if keeping it in your fridge. When using your starter for baking, be sure to pull it from the fridge, let it warm up a bit on the counter and then feed it roughly 2-8 hours before using. The longer between feeding it and using it to make your dough, the more "sourdough" flavor it will have.
Unfed Starter

Starter Right After Feeding
